Surface Gilding and Directional Burnishing
Published on 15.05.2020 by Rachel
Published on 15.05.2020 by Rachel
Newcastle based Alex Richardson of Mango Signs has put together this brilliant tutorial on surface gilding and the wizardry of directional burnishing! Check out his video and instructions below, and to see more of Alex's work, visit his Instagram here!
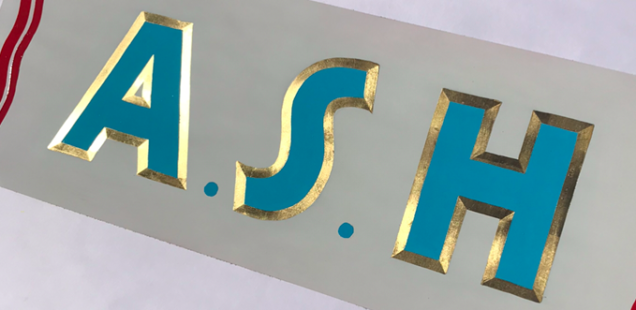
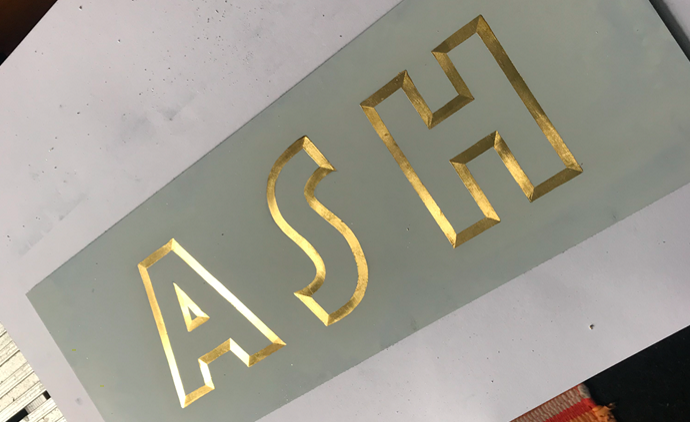
Surface gilding is the method of using gold size to lay down gold leaf to a surface and directional burnishing is something you can do to the gold after using a velvet or velveteen pad to put microscopic scratches into the gold giving off an effect of depth. The way we will be burnishing is to create a bevelled look to the gold on the outline of letters.
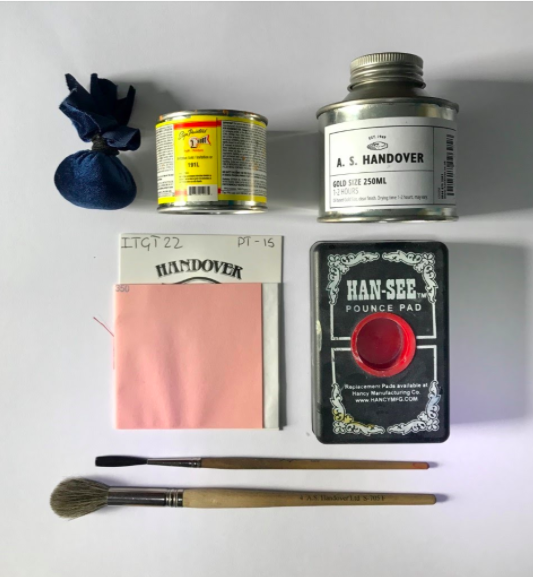
What you’ll need:
- 1-2hr Oil based gold size
- Imitation gold One shot paint (optional)
- Pounce pad
- Velvet pad
- Genuine transfer gold leaf
- Soft haired brush
Step 1
To do directional burnishing you’ll first have to do a surface gild. Get your oil-based gold size ready with a drop or two of imitation gold One shot, the paint gets mixed in to make it easier to see when you are painting with the gold size.
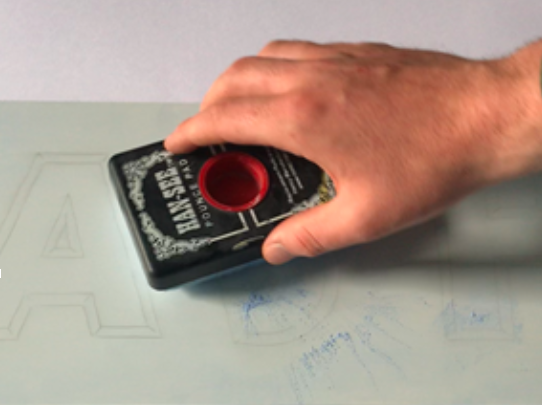
Step 2
Use your pounce pad to lightly dust over the surface you’ll be gilding, this is done so that none of the gold leaf gets stuck to any unwanted places.
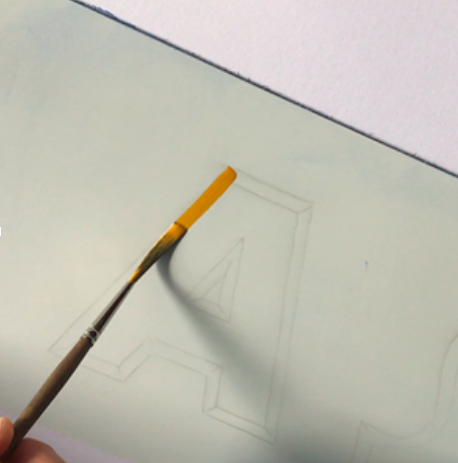
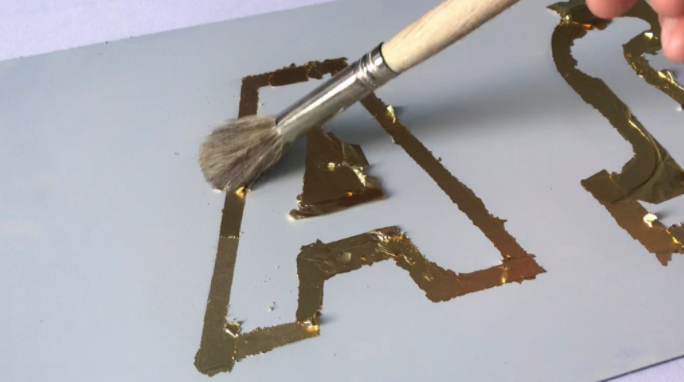
Step 3
Once you are ready, use the gold size to paint on anywhere you want the gold leaf to stick to. Keep in mind what time you start painting as after an hour or so the size will begin to get tacky, this is when the size is ready to accept the gold leaf. You’ll know when it’s ready for the gold if you use the backside of your finger to gently rub down the size, it should give off a little squeak.
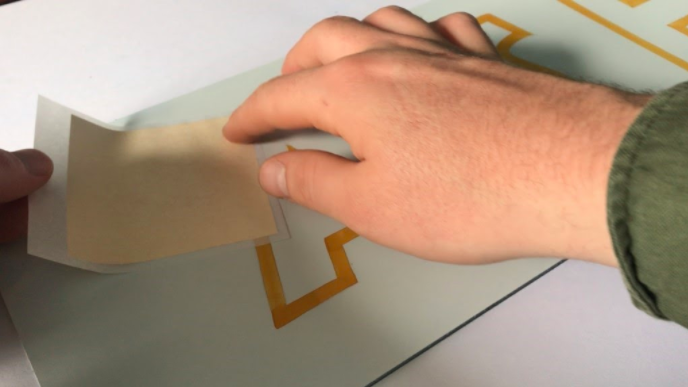
Step 4
Now that the gold is ready to go on, get a sheet of your transfer gold leaf and lay it over anywhere you have painted, give it a light rub with even pressure and pull away the sheet away, the gold leaf should be stuck down.
Repeat this until you have covered all of the area of where you’ve painted with the gold. Then using a soft haired brush gently brush off all of the excess gold. Now you are ready to do some burnishing.
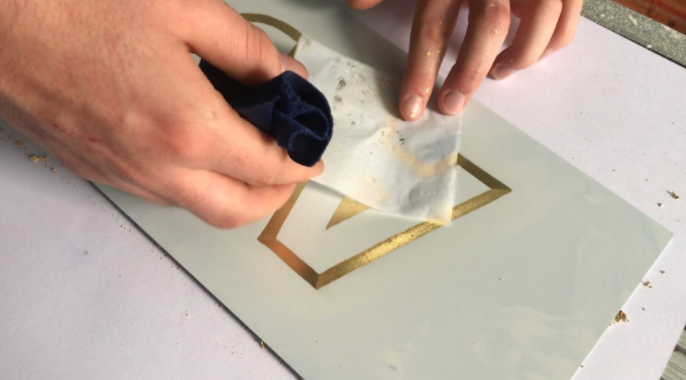
Step 5
Using a piece of the paper your gold leaf comes on lay it over a corner of one of your letters where the gold is, use the velvet pad to burnish along the line. Only do one line at a time as you will have to cover up each corner of the letter with the paper. When burnishing either go down or across, each time you get to a corner burnish at a 90-degree angle from the previous line, doing so gives the highest contrast between each line and corner. The velvet pad puts microscopic scratches into the gold so that when light hits it, it gets reflected at different angles. This is how you get the effect of a bevelled outline with gold leaf. Repeat this process at every corner throughout your letters. Once this is done you are finished!
Every product used throughout this tutorial can be purchased at A.S Handover
Hooray!
Product added to basket!
