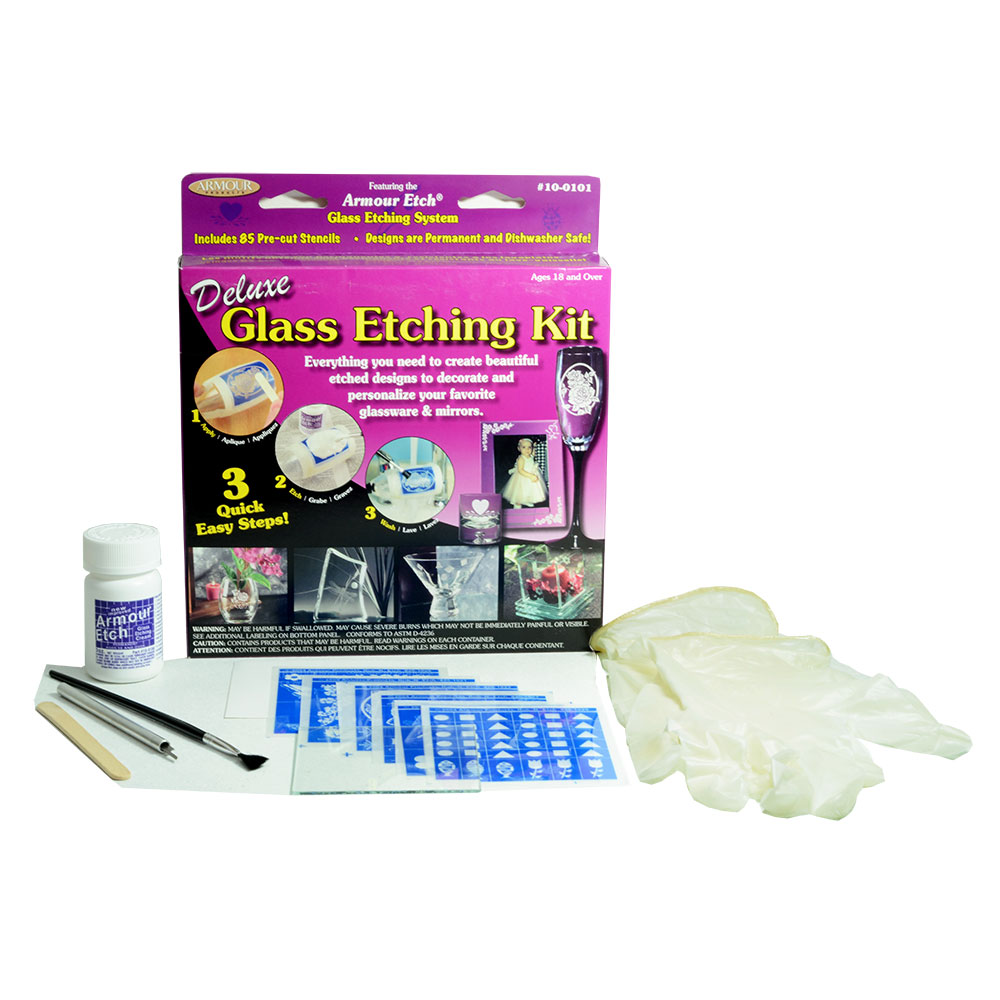
Armour Etch - How to Use
Published on 26.03.2025 by Charlotte
Published on 26.03.2025 by Charlotte
Choose a well lit and ventilated area with a nearby water source to work in. Make sure your work surface is clean and free of debris. Have all your necessary supplies out and ready before you begin. To protect skin and eyes we recommend wearing latex, or similar, gloves and protective eye-wear while handling the etching cream. For best results the room temperature, etching cream and the glass should be at least 65 degrees.
All glass is not made the same. Glass does not have one, universal formula. Additionally, some glass has been made with hardeners or other treatments that impede or prevent etching with cream. Always test for etching ability and time before beginning any project.
Clean and dry the glass thoroughly to remove all surface contaminants and fingerprints. Avoid cleaning solutions that advertise fingerprint or smudge resistance, as they can leave a film on the glass that could interfere with the etching cream making contact with the surface.
Before opening the bottle, have the stencil firmly adhered to the surface of the glass with all the surrounding, exposed glass taped over and rubbed down.
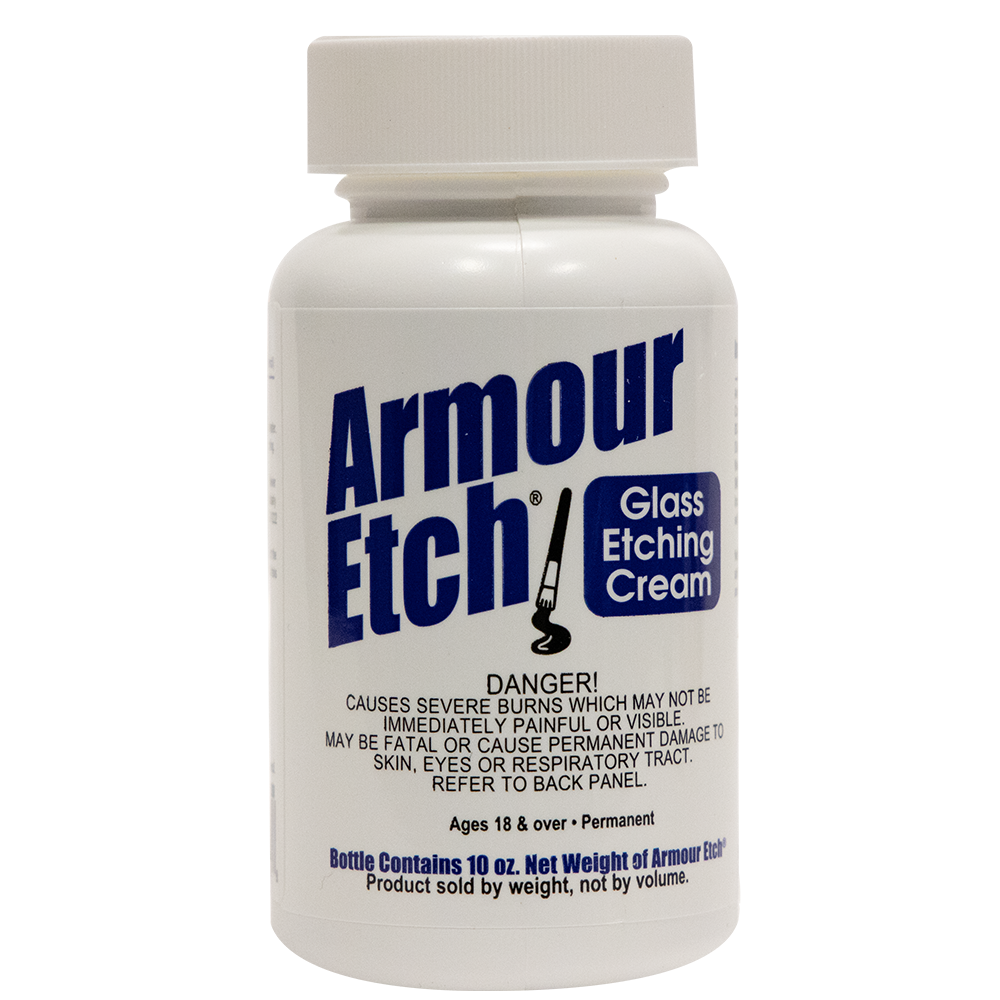
Gently shake the bottle. If the crystal formations are of a concern, simply place the closed bottle in a container of very warm, not hot, water for 15-20 minutes and then stir or shake. Do not add water to the etching cream. (Why are there crystal formations in my etching cream?)
Utilising a brush or other applicator, apply a thin layer into the open stencil area first. Remove any visible crystals. Cover the thin layer with a thick layer so that the stencil can not be seen through it. Every few minutes, gently move the etching cream around in the design area allowing fresh cream to make contact with the surface of the glass.
Timing depends on the glass and stencil type you are using. For our Over-N-Over Reusable Stencils, Vinyl, or Other Plastic Type Stencils 8 to 15 minutes, with proper application and moving of the cream, should yield perfect results the majority of the time. For our Blue Rub-N-Etch Single Use Dissolving Stencils or similar dissolving stencils, the window is approximately 2 minutes or less.
Place the glass under slow flowing ,lukewarm water and gently brush or wipe off the cream, careful not to have any rinse water contact the unprotected areas of the glass. Clean off all the etching cream before removing the stencil. Blue Rub-N-Etch Stencils will break apart in the rinse and be swept off with the cream.
Please Note: Armour Etch can be reused, if desired, by using a soft brush to carefully scoop up the surface cream and put it back into the bottle before the rinsing off process. Be aware, however, similar to dishwater, with every use the cream becomes more contaminated with past etching debris and less and less potent, directly affecting the outcome of use.
Please note: Not intended for use by children. Will not etch plastics or some Pyrex. Not recommended for etching large areas of glass – not recommended for large, solid areas. Consider anything larger than 1 x 1in too large for solid etching.
Hooray!
Product added to basket!
