How to Create Realistic Faux Wood Grain Using Polyvine Acrylic Scumble
Published on 03.12.2025 by Charlotte
Transforming a plain panel into a piece that looks like authentic wood requires precision, patience, and the right combination of glazes and tools. In this guide, we’ll break down this wood-graining technique, step by step – using Polyvine’s Acrylic Scumble Glaze, Acrylic Colourants and Decorators Varnish, as well as a range of our Handover graining tools and brushes.
Polyvine Acrylic Scumble Glaze is a clear acrylic glaze, offering a one-hour working time and drying to a beautiful and water-resistant finish. It’s a suitable glaze for interior or exterior use, and it’s the first water-based product that faithfully reproduces the beauty of traditional oil finishes. Colour it with Polyvine Acrylic Colourants for stunning decorative paint effects.
This guide and the product suggestions given are for mixing scumble with acrylic colourants, if you want a scumble to mix with emulsion, choose the Polyvine Classic Scumble.
You can use all kinds of tools to create woodgrain as well as the ones mentioned here – specific rubber graining tools, feathers, check graining rollers, rags, paint brushes; the list goes on!
Here we describe how to acheive a basic woodgrain effect – but don’t stop there! We also offer a new book by Stewart McDonald titled Interior Paint Finishes and Effects, which goes into a lot more detail on the many, varied paint effects you can acheive with these tools.
Materials Needed
MDF /other substrate panel
Base coat colour in vinyl silk emulsion/satin latex or acrylic semi gloss/eggshell
Apply a base coat to your MDF panel. This will be the underlying wood tone.
Seal the base coat with a thin layer of Polyvine Decorators Varnish . This ensures the surface is exceptionally smooth and non-absorbent, which is crucial for a professional finish.
Step 2: Mix the Glazes
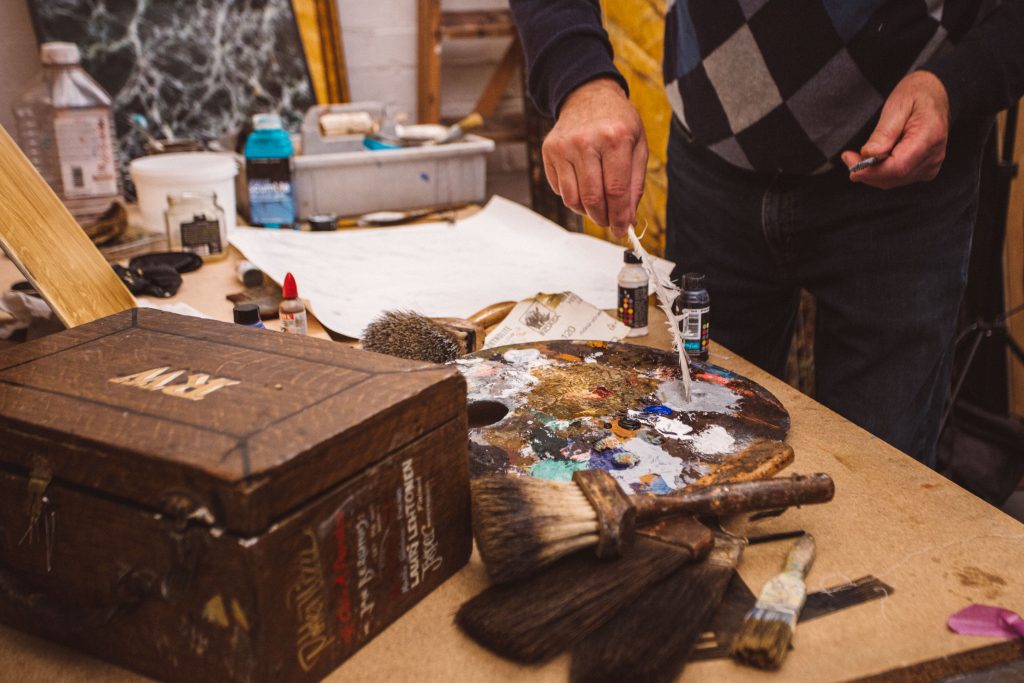
Pour scumble glaze into three separate bowls.
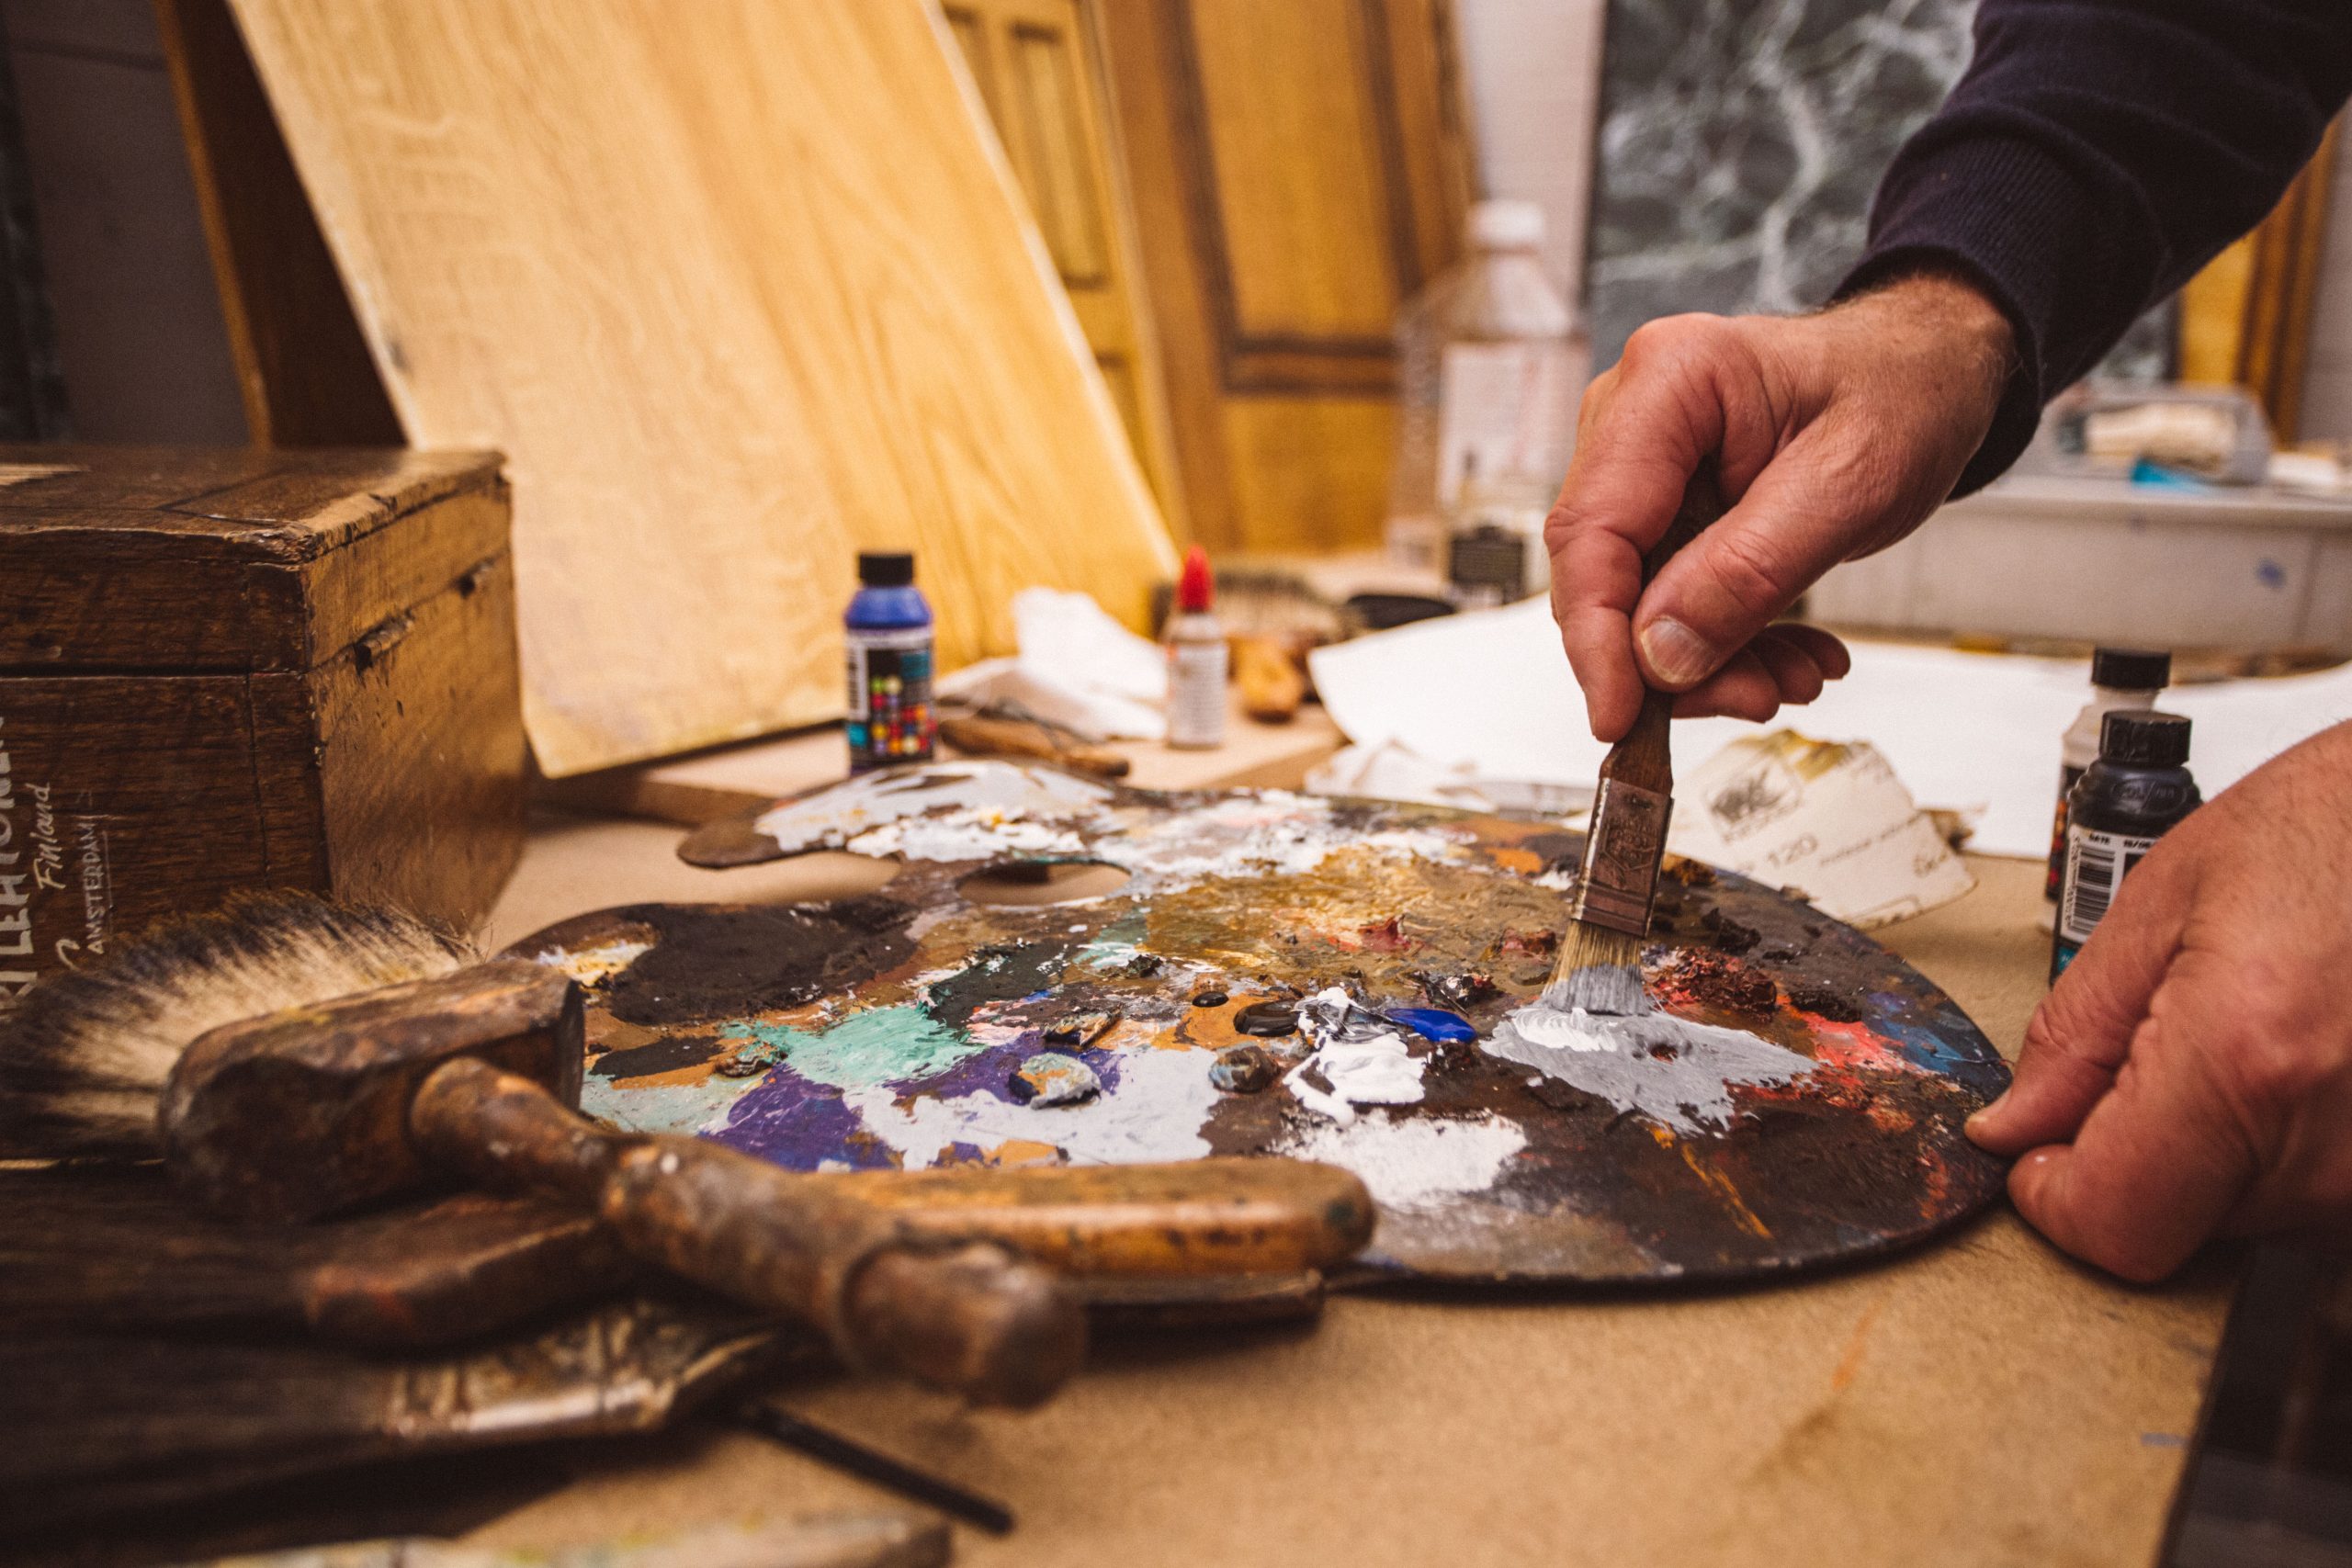
Add one glaze colour to each bowl: Mahogany, Burnt Sienna, and Dark Oak. Use around 10 drops of colourant to every 5 teaspoons of scumble.
These tinted glazes are transparent, allowing the base colour to show through and creating depth in subsequent layers.
Step 3: Apply the First Glaze Layer
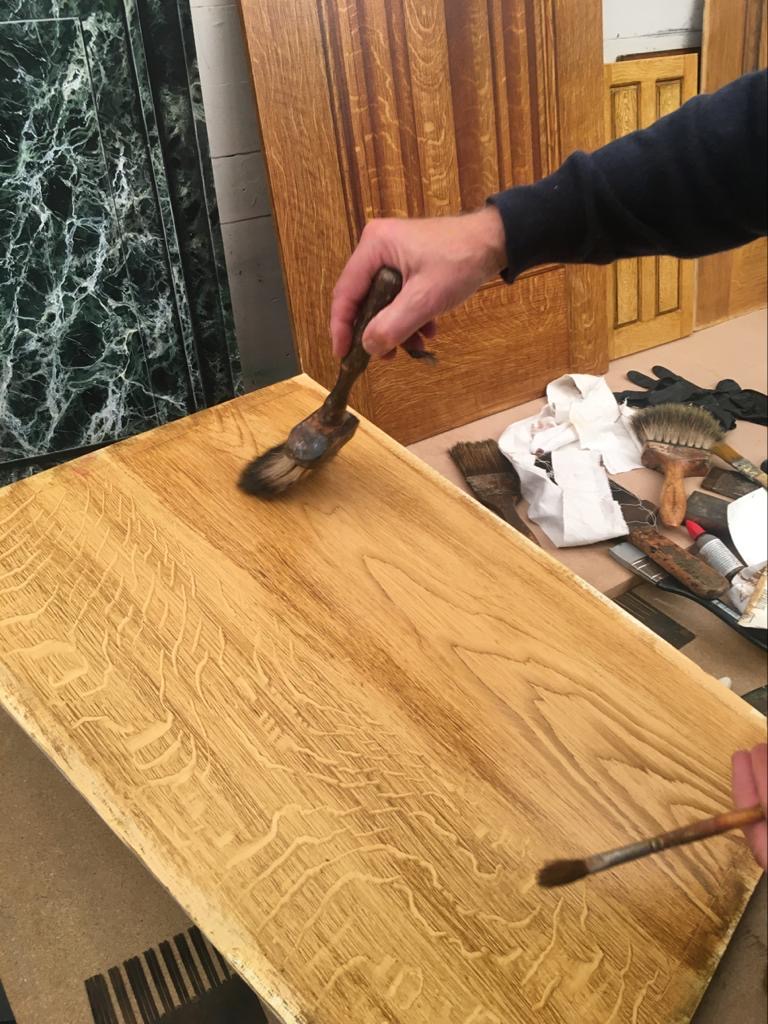
Start with the Mahogany glaze applied using a decorator’s brush.
Add Dark Oak blotches with a varnishing brush to introduce natural variation.
For a straight grain, blend all marks in the same direction.
Combine the three glazes using different brushes to create the desired colour variation.
Step 4: Introduce the Grain
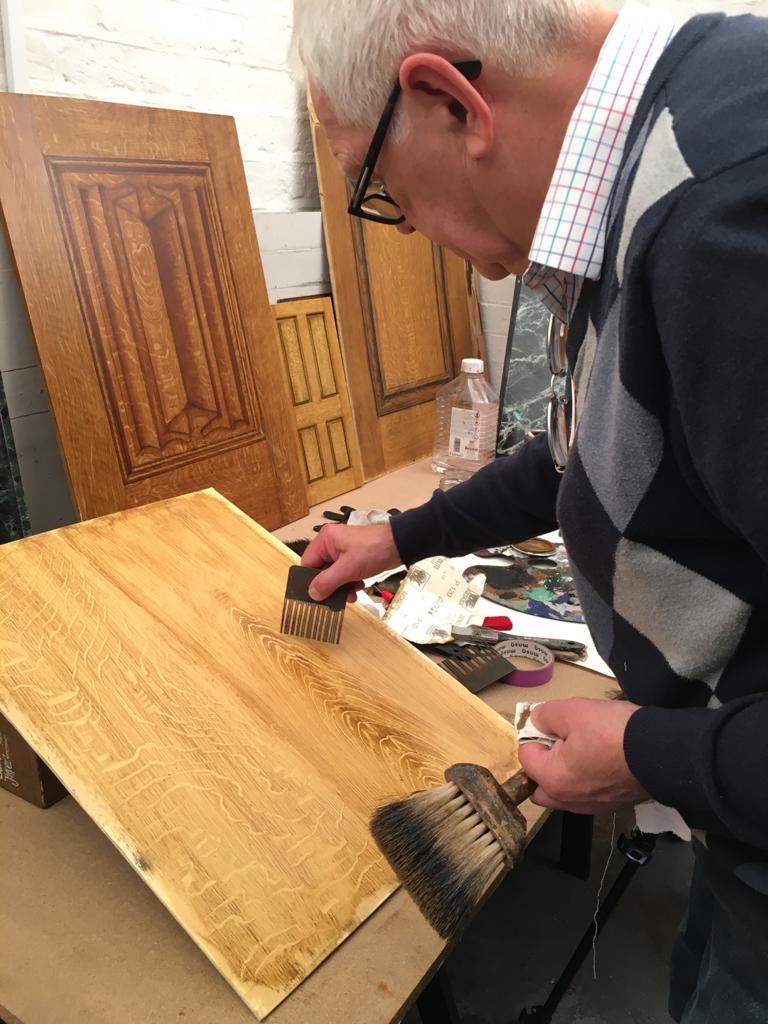
While the glaze is still wet, place your wood graining tool onto the surface. As you pull it steadily across, gently rock the tool forwards and backwards. This motion creates the natural variation seen in real wood grain.
Blend with a varnishing brush, moving gently upwards and outwards from the center.
Use a softener or small badger hair brush (or a soft hair cutter brush) to refine the strokes and smooth transitions.
Step 5: Add Over Glaze for Depth
Apply a second layer of glaze (over glaze) to enhance the illusion of wood texture.
Reinforce some of the marks made in the first layer to create subtle variations and natural-looking depth.
Apply darker colours and use a soft hair cutter or badger hair brush to create detailed figuring and knots.
Step 6: Dry and Finish
Allow the grained panel to dry completely.
Apply a final coat of Polyvine Decorators Varnish to protect the finish and give it a smooth, professional sheen.
Pro Tips
Work in manageable sections so your glaze doesn’t dry before you’ve finished tooling.
Vary the pressure and motion of your brushes for a natural, imperfect look.
Study real wood to replicate figuring – each piece of wood is unique, and mimicking that variation is key.
Allow base coat to dry for a minimum of 24 hours with ventilation.
Keep your motion smooth and continuous when dragging the graining tool.
Vary the intensity of your rocking to avoid uniform, repeating lines.
In temperatures above 21ºc/70ºf, or for longer working time, use Tropical Scumble.
Low temperature or high humidity increases drying time.
The thickness of scumble, temperature and humidity affect the working time.
With these steps, you can turn a plain panel into a piece that looks like real wood – complete with depth, color variation, and natural grain patterns. Practice on smaller panels first, then apply your technique to larger surfaces or furniture for a stunning finish.
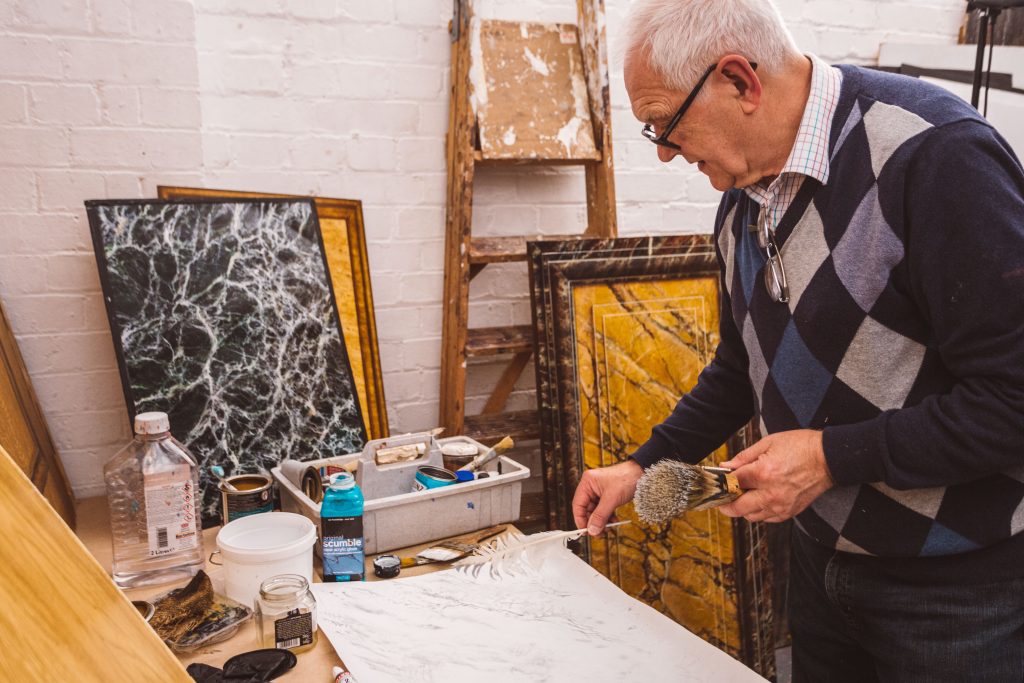
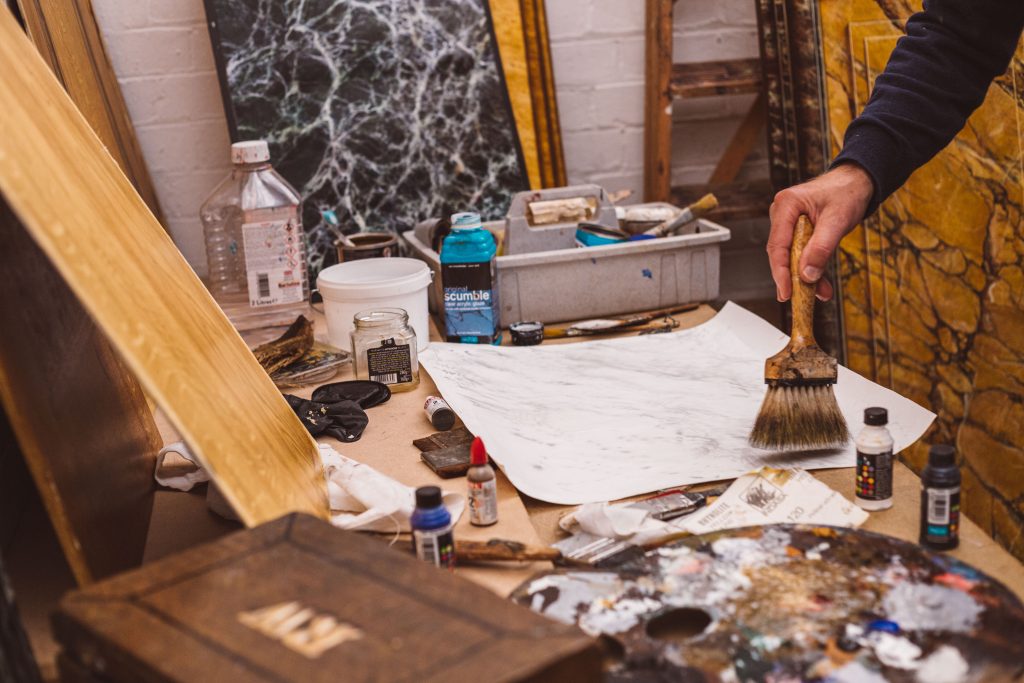
Photos shown are of Robert Woodland MBE (Master woodgrainer, marbler, decorative and ornamental artist) using Polyvine Acrylic Scumble and Colourants on a visit to our workshop in 2020.