
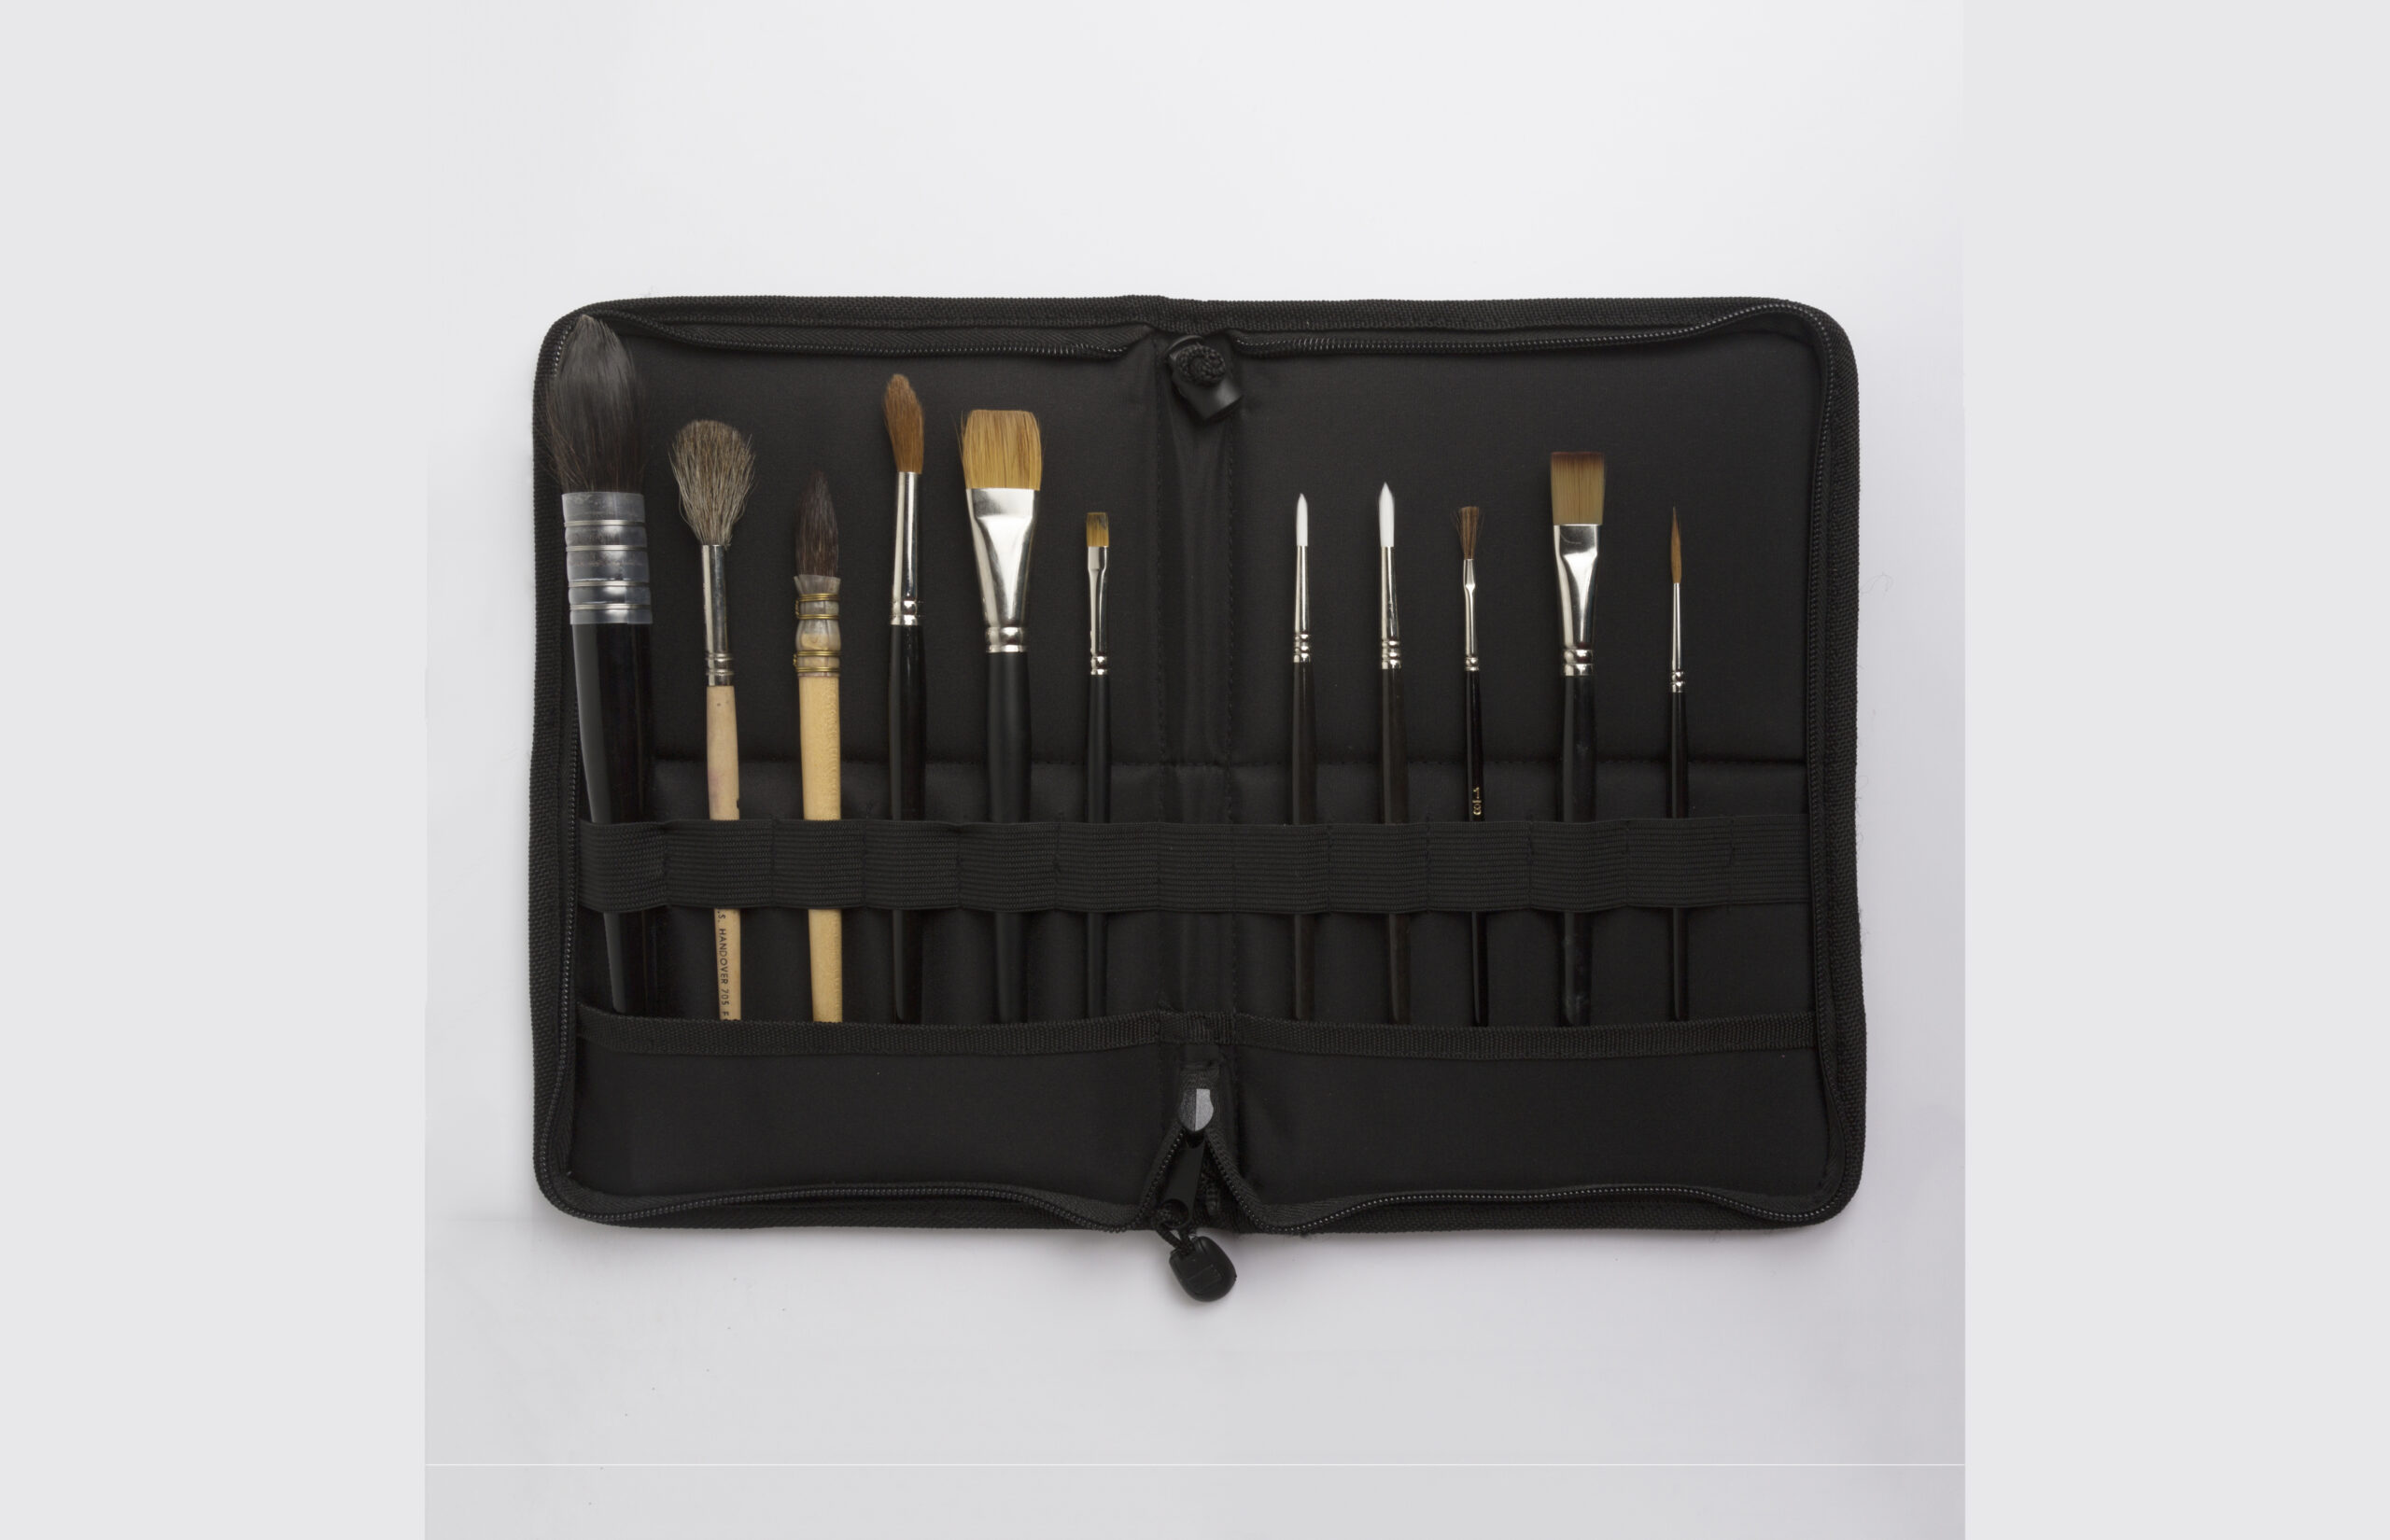
Brush Care Guide - how to care for your brushes
Published on 06.02.2026 by Charlotte
Published on 06.02.2026 by Charlotte
A well made brush is an incredibly valuable tool and will last many years if cared for correctly.
This is especially true for fine natural hair brushes, such as those made from sable, as the properties that make these hairs wonderful for brushes can also mean they are more susceptible to damage if incorrectly cared for.
The key element of brush care is the removal of paint and the prevention of paint drying on the brush. This is most important at the ‘heel’ of the brush where the hair meets the ferrule, and inside the ferrule itself as dry paint here is likely to cause the hairs to break resulting in the brush shedding hairs, and a loss of density and shape to the remaining brush (as well as a lot of frustration for the user!)
This brush care guide aims to explain how best to care for your brushes through a variety of mediums and hair types.
Using the same brush across multiple mediums, such as switching between oil, acrylic, enamel, etc can cause serious issues that affect both the brush and your work.
Each medium contains different binders, solvents, and drying agents – residue from one medium (even small traces) can contaminate another, leading to:
Different mediums require specific cleaning approaches:
It could be useful to label or store your brushes by medium – a piece of coloured tape on the handle or storage in clearly marked containers helps keep your brushes sorted and avoids accidental mixing.
Oil Paint
Use mineral spirits or turpentine to dissolve paint and remove as much as possible.
Follow with a brush soap taking extra care to remove paint from the heel of the brush. As well as cleaning, brush soaps also condition the brush helping maintain softness and flexibility to the hair. Washing up liquid can also be used to clean oil paint brushes but will not have the same conditioning benefits as a brush soap.
Dry thoroughly and store flat or suspended pointed downwards in a drying rack – avoid storing upright when wet if possible
Acrylic Paint
Wash with cold water as soon as possible; acrylic dries quickly and irreversibly. Use a brush soap to remove any paint near the ferrule, then reshape after washing and dry flat.
Gilding – Water & Oil Sizes
Water-Gilding
Brushes should only be cleaned with warm water. A brush used for water gilding should only ever be used with gelatine size and no other mediums.
Oil based gold size
Clean with white spirit, turpentine or oil-based brush cleaner, followed by a mild soap.
Always keep gilding brushes separate from those used with paint.
Enamel Paint (Solvent-Based)
Requires strong solvents like white spirit or a specialist enamel thinner to clean, store flat in neatsfoot or engine oil.
Step by step guide – this guide is for chisel edged brushes used in solvent/oil based enamel, but you can adapt it for other mediums:
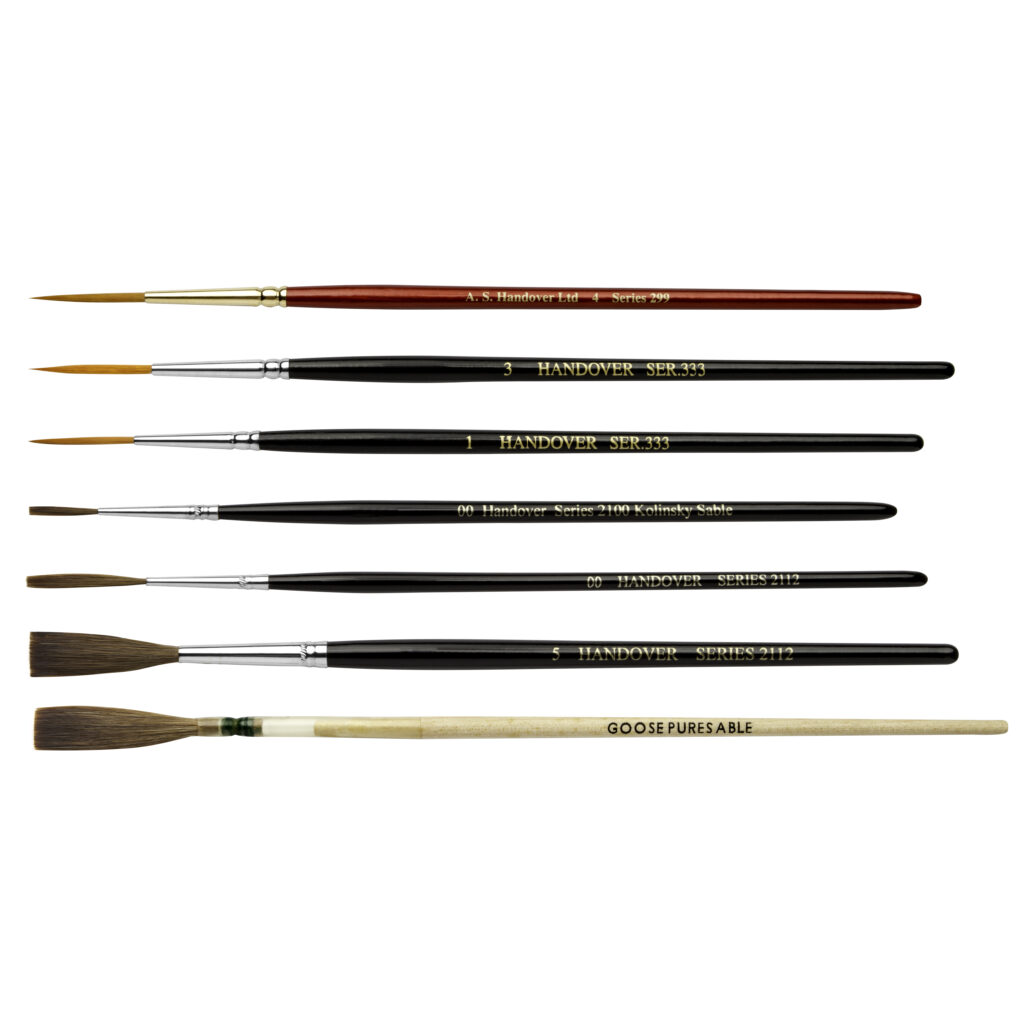
Storage: Long-haired brushes (e.g., swordliners, stripers, writers) should be laid flat or stored in a box that suspends the tip to prevent damage.
If you look after your brushes, whatever the medium you are using or the hair they are made from, they can last you a lifetime. Happy painting!
Head to our Brush Care section online >
Yes, in a pinch. It’ll get oil paint out just as well as a brush soap. The difference is conditioning – brush soap also helps keep the hair soft and flexible over time, washing-up liquid just cleans.
No, keep separate brushes for each. Even tiny traces of one medium left in the ferrule can affect the other – oil residue in an acrylic brush can cause lifting or poor adhesion, and old pigment can muddy your colours. A bit of coloured tape on the handle is an easy way to keep track of which brush is for what.
Around six months is the cutoff. Beyond that, store it dry in a sealed case or container rather than leaving it oiled, especially if you’ve used neatsfoot oil, which gets very hard to remove once it’s fully dried.
No, water only. Water gilding brushes should never touch solvents, and they should only ever be used with gelatine size, nothing else. Keep them completely separate from your paint brushes.
Flat, or suspended with the tip pointing down. Never stand a brush on its bristles, wet or dry, as it ruins the shape.
If it’s for enamel or other oil-based signwriting, yes – saturate the hair in neatsfoot oil first, shape it by hand, and stand it tip-up for an hour or more before use. This helps stop paint drying in the ferrule later on. For other mediums this step isn’t necessary.
Hooray!
Product added to basket!

